Introduction to Image Optimization
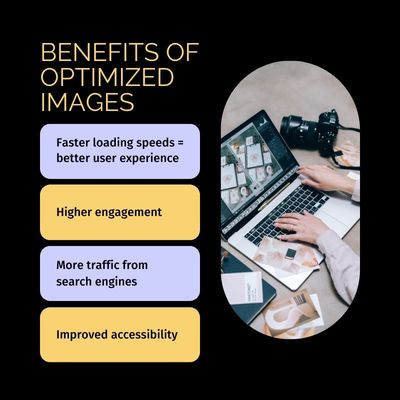
Images play a key role on any website because of the impact it has on user experience. Most people don’t enjoy scrolling through websites. Effective image optimization helps them avoid large, non-stop blocks of text. It is not appealing, and doesn’t draw a person’s attention anywhere. So, images are important for a website because of user experience which contributes to other factors such as traffic, search engine ranking (SEO & user engagement), and aesthetic appeal.
I work at an home improvement company as a web design intern for my school’s Cooperative Education program (Co-Op). At my Co-Op, I optimize images, but focus on a design-first approach. I’ll start by gathering images that match the purpose of each service page, then I’ll make a design for those images that align with the company’s brand and edit the pictures. Finally, I’ll optimize the file sizes and format for whatever is best for the page and end with finalizing details for SEO like file naming and giving alt-text to each image. With this approach, I can make visually appealing designs for user experience that also has SEO value.

Gathering Images: Purpose, Sourcing & Design
The first step, gathering images, is crucial for branding and engagement. When looking for images, you want to make sure you choose images that align with your brand for effective image optimization. Images are powerful in their ways to be memorable, connect with people emotionally, and tell a story. As a result, you don’t want to choose any random image because it could take away from your branding.
Proper image optimization starts with finding the right image. You can find images in many places, custom graphics doesn’t always have to be the way to go as long as you properly cite any image you use that isn’t yours. There are other options like stock photography, images from clients, or even AI-generated images since that has been more popular lately.

Overall, no matter how you find an image, consider the impact it can have. It should be consistent with your brand, a website describing how to play chess probably won’t have an image of a volcano. The colors used in the image should resonate with the message you’re trying to convey, colors can evoke different emotions in people. For example, a website focused on peace and tranquility won’t use images with mostly red which typically represents energy and urgency. Lastly, you want the image to tell a story, it should add to whatever is on your website. Like on my blog about How to Get an Internship in Web Fields, I included an image on tips to get an internship using colors from my website. Even in this blog, you’ll see images only related to this topic.
Designing Before/After Images: Engaging Users & Boosting SEO
One part of image optimization at my Co-Op is designing before/after images to showcase home improvement transformations. My goal is to engage users with the images. As a result, many details come into play. I have to first select appealing images, arrange them effectively, then ensure they look professional to bring users in.
These images contribute to SEO beyond their alt-text as they impact bounce rates and the amount of time users spend on the page. If someone visits a service page and doesn’t like the before/after image, they may think my Co-Op’s company lacks skill or can’t perform that service effectively, making them leave. If someone visits a service page and likes the before/after image, they’re more likely to continue scrolling and hopefully call in asking for our service, increasing time-on-page and reducing bounce rates.
Editing Images: Enhancing Visual Appeal & Usability
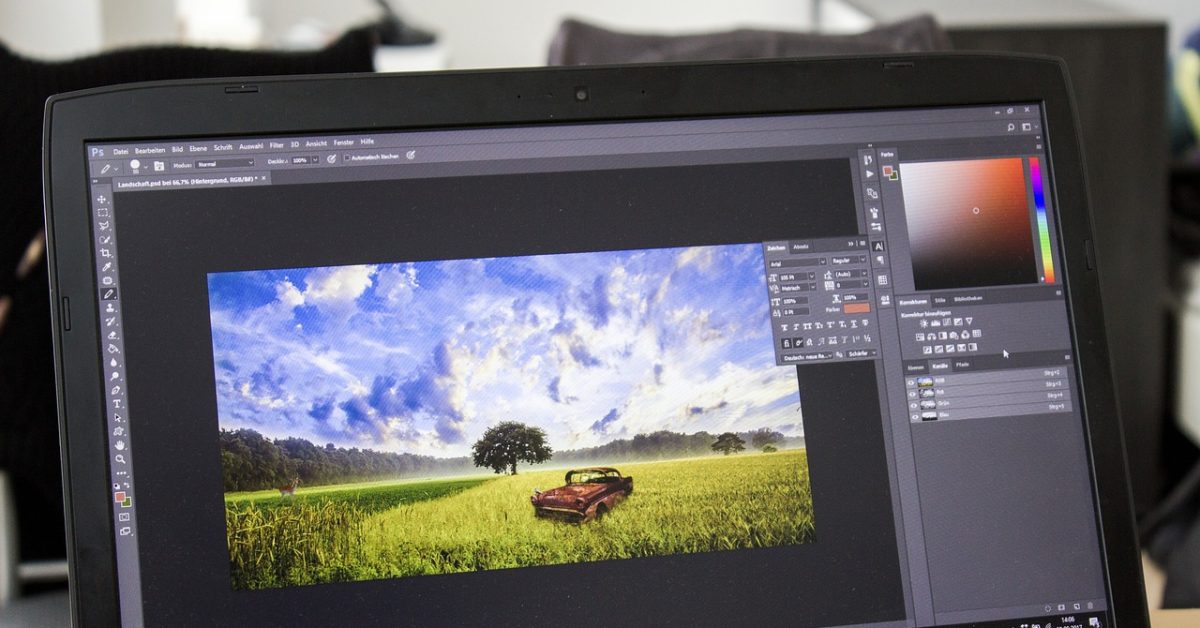
When I say edit, I don’t typically have to use an editing software like Photoshop. I mostly crop and rotate, but in some cases I’ve had to make adjustments to the lighting and color or block out people in the image so the picture looked more professional. Sometimes I could use color correction to emphasize the bad details on the before image, making the after image look even better than it already did.
Image optimization is not just about resizing images for loading times though. It’s also about making them look appealing. When I make image adjustments like cropping and rotating, it’s for design appeal. Images lining up correctly and being from the same angle look more coordinated, especially in before/after type of images.
As for resizing, it plays a key role in a website’s loading times and user experience. I’ve learned that uploading an image with an aspect ratio larger than it is displayed has a negative impact on SEO, and can slow down the website. Then, when a website loads slow, a user is more likely to click off. In fact, multiple websites like LinkedIn and Shopify, mention how users are more likely to leave websites that take longer than three seconds to load. Nowadays, users pretty much expect a website to load right away.

File Size & Format: Choosing the Best for Web Performance
File size and format play key roles in image optimization. Oversized images can negatively impact web speed, ruining SEO scores like I showed in the last section. Making sure images aren’t too large in aspect ratio is important, but also the actual file size is important. As a result, choosing the right format is essential. Commonly used and recommended formats for websites include JPEG, PNG, and WebP.
Deciding which one to use depends on factors like the type of image you’re uploading, so you’ll need to weigh the pros and cons to decide which works best for you. If extra compression is needed, there’s options like TinyPNG and Photoshop to compress images without losing quality. TinyPNG specifically even has options to change image formats to WebP, PNG, or JPEG, so you could visually decide which works best for you. Check out this pros and cons list from Adobe:
JPEG
Pros:
- Convenient for storage and sending
- Supports up to 24-bit color
- Uses Lossy Compression for small file sizes
Cons:
- Sacrifices some image quality
- Larger images might lose sharpness
- Loss of data
- Makes images appear less smooth
PNG
Pros:
- Can store more detailed images
- Open format
- Won’t lose data when compressed
- Easy to store & transfer
Cons:
- Larger because it stores more data, taking up more space
- Doesn’t support CMYK colors, so they’re hard to print
- The large size makes websites load slower
WEBP
Pros:
- Contributes to faster-loading websites
- Compatible with many web browsers
- Free up space with manageable file sizes
Cons:
- Relies on the internet, not helpful if using images offline
- Older browsers may not support WebP
- Compression can reduce the quality
Generating File Names & Alt-Text: SEO & Accessibility
File naming is important for search engines, so you want to write SEO-friendly file names that are descriptive but not too long. I usually stick with a rule of not having a file name exceeding 5 words.
Alt-text is more talked about, and is important for accessibility, user experience, and SEO. It gives search engines a description of the image you used while also supporting users who use screen readers. I talk more about alt-text in my previous blog about AI and SEO.
The Final Look: Reviewing the Optimized Image
The final step is looking at the finished image to make sure it meets both design and performance standards. A well-optimized image should be visually appealing, have quick load times, and improve user experience and SEO scores. At my Co-Op, I take a design-first approach to make sure images are visually appealing yet align with the company’s brand, to achieve this. By using this approach, or something similar, you can create websites that attract and retain visitors.
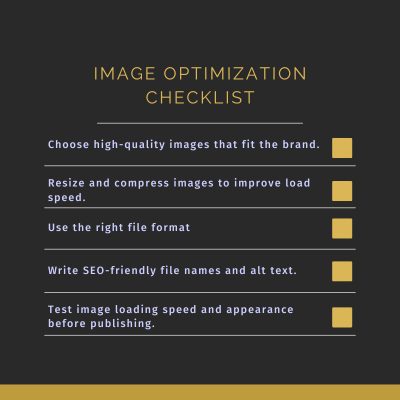
Image Optimization Checklist

Conclusion to Image Optimization
7 ways to optimize images mentioned in the article:
- Gathering Images: Choose images that align with your brand, are emotionally engaging, and tell a story.
- Designing Visually Appealing Images: Use engaging images to boost user interaction and contribute to SEO by reducing bounce rates.
- Editing Images: Focus on image adjustments like cropping, rotating, color correction, and resizing to enhance visual appeal.
- File Size & Format: Select the right file size and format (JPEG, PNG, or WebP) to ensure fast page load times and good SEO performance.
- Compression: Compress images without losing quality with tools like TinyPNG or Photoshop.
- SEO-Friendly File Naming: Choose descriptive and SEO-friendly file names that are short and relevant to the topic.
- Alt-Text: Write descriptive alt-text for images to improve SEO and accessibility.

